How to set up world-class continuous deployment using free hosted tools
17th October 2017
I’m going to describe a way to put together a world-class continuous deployment infrastructure for your side-project without spending any money.
With continuous deployment every code commit is tested against an automated test suite. If the tests pass it gets deployed directly to the production environment! How’s that for an incentive to write comprehensive tests?
Each of the tools I’m using offers a free tier which is easily enough to handle most side-projects. And once you outgrow those free plans, you can solve those limitations in exchange for money!
Here’s the magic combination:
Step one: Publish some code to GitHub with some tests
I’ll be using the code for my blog as an example. It’s a classic Django application, with a small (OK, tiny) suite of unit tests. The tests are run using the standard Django ./manage.py test command.
Writing a Django application with tests is outside the scope of this article. Thankfully the official Django tutorial covers testing in some detail.
Step two: Hook up Travis CI
Travis CI is an outstanding hosted platform for continuous integration. Given a small configuration file it can check out code from GitHub, set up an isolated test environment (including hefty dependencies like a PostgreSQL database server, Elasticsearch, Redis etc), run your test suite and report the resulting pass/fail grade back to GitHub.
It’s free for publicly hosted GitHub projects. If you want to test code in a private repository you’ll have to pay them some money.
Here’s my .travis.yml configuration file:
language: python

python:
  - 2.7

services: postgresql

addons:
  postgresql: "9.6"

install:
  - pip install -r requirements.txt

before_script:
  - psql -c "CREATE DATABASE travisci;" -U postgres
  - python manage.py migrate --noinput
  - python manage.py collectstatic

script:
  - python manage.py test
And here’s the resulting Travis CI dashboard.
The integration of Travis with GitHub runs deep. Once you’ve set up Travis, it will automatically test every push to every branch—driven by GitHub webhooks, so test runs are set off almost instantly. Travis will then report the test results back to GitHub, where they’ll show up in a bunch of different places— including these pleasing green ticks on the branches page:
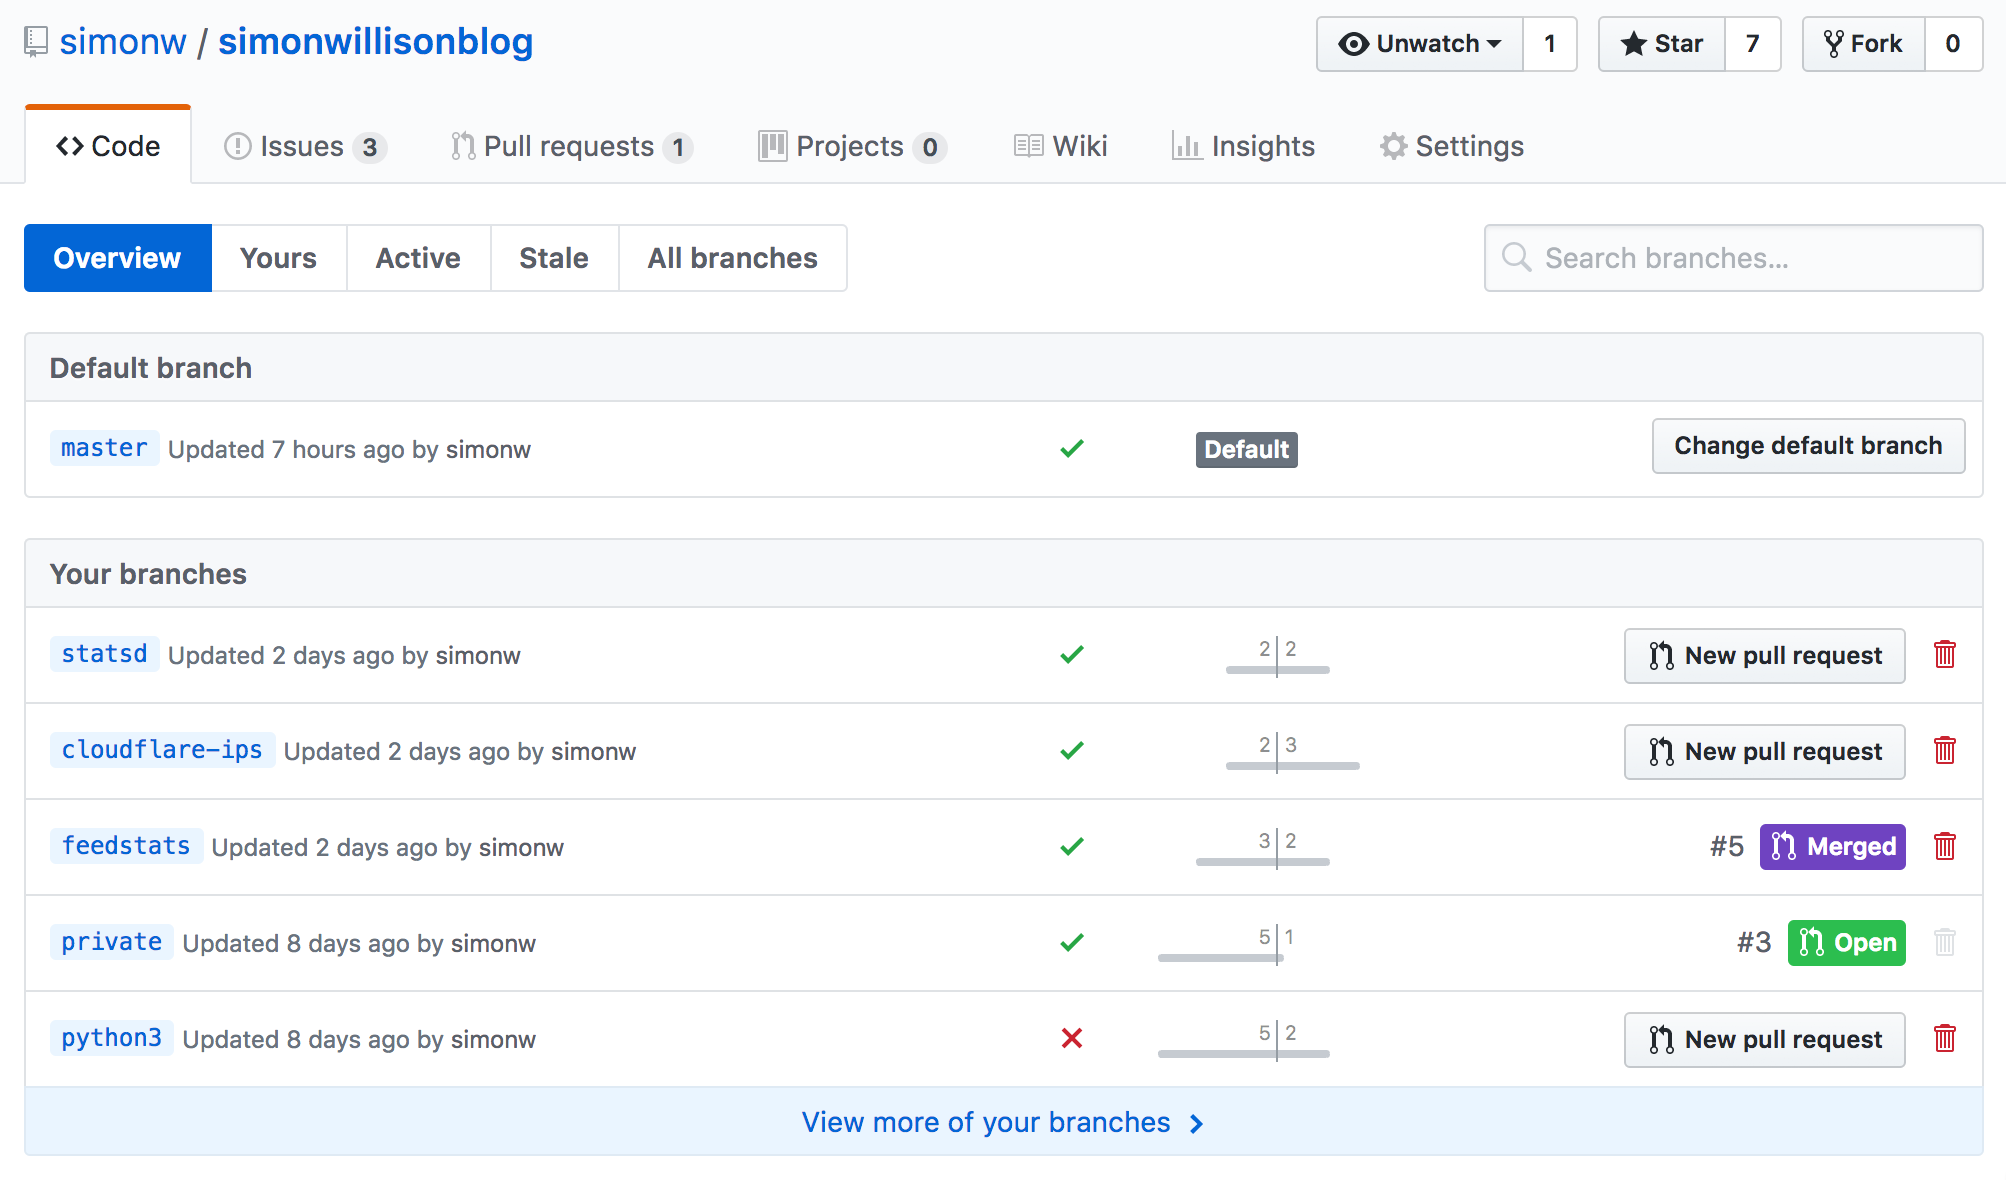
Travis will also run tests against any open pull requests. This is a great incentive to build new features in a pull request even if you aren’t using them for code review:

Circle CI deserves a mention as an alternative to Travis. The two are close competitors and offer very similar feature sets, and Circle CI’s free plan allows up to 1,500 build minutes of private repositories per month.
Update 25th July 2020: I’ve started using GitHub Actions for most of my projects now—see my githubactions tag.
Step 3: Deploy to Heroku and turn on continuous deployment
I’m a big fan of Heroku for side projects, because it means not having to worry about ongoing server-maintenance. I’ve lost several side-projects to entropy and software erosion—getting an initial VPS set up may be pretty simple, but a year later security patches need applying and the OS needs upgrading and the log files have filled up the disk and you’ve forgotten how you set everything up in the first place…
It turns out Heroku has basic support for continuous deployment baked in, and it’s trivially easy to set up. You can tell Heroku to deploy on every commit to GitHub, and then if you’ve attached a CI service like Travis that reports build health back you can check the box for “Wait for CI to pass before deploy”:

Since small dynos on Heroku are free, you can even set up a separate Heroku app as a staging environment. I started my continuous integration adventure just deploying automatically to my staging instance, then switched over to deploying to production once I gained some confidence in how it all fitted together.
If you’re using continuous deployment with Heroku and Django, it’s a good idea to set up Heroku to automatically run your migrations for every deploy—otherwise you might merge a pull request with a model change and forget to run the migrations before the deploy goes out. You can do that using Heroku’s release phase feature, by adding the line release: python manage.py migrate --noinput to your Heroku Procfile (here’s mine).
Once you go beyond Heroku’s free tier things get much more powerful: Heroku Flow combines pipelines, review apps and their own CI solution to provide a comprehensive solution for much larger teams.
Step 4: Monitor errors with Sentry
If you’re going to move fast and break things, you need to know when things have broken. Sentry is a fantastic tool for collecting exceptions, aggregating them and spotting when something new crops up. It’s open source so you can host it yourself, but they also offer a robust hosted version with a free plan that can track up to 10,000 errors a month.
My favourite feature of Sentry is that it gives each exception it sees a “signature” based on a MD5 hash of its traceback. This means it can tell if errors are the same underlying issue or something different, and can hence de-dupe them and only alert you the first time it spots an error it has not seen before.
Sentry has integrations for most modern languages, but it’s particularly easy to use with Django. Just install raven and add few extra lines to your settings.py:
SENTRY_DSN = os.environ.get('SENTRY_DSN')
if SENTRY_DSN:
    INSTALLED_APPS += (
        'raven.contrib.django.raven_compat',
    )
    RAVEN_CONFIG = {
        'dsn': SENTRY_DSN,
        'release': os.environ.get('HEROKU_SLUG_COMMIT', ''),
    }
Here I’m using the Heroku pattern of keeping configuration in environment variables. SENTRY_DSN is provided by Sentry when you create your project there—you just have to add it as a Heroku config variable.
The HEROKU_SLUG_COMMIT line causes the currently deployed git commit hash to be fed to Sentry so that it knows what version of your code was running when it reports an error. To enable that variable, you’ll need to enable Dyno Metadata by running heroku labs:enable runtime-dyno-metadata against your application.
Step 5: Hook it all together with Slack
Would you like a push notification to your phone every time your site gets code committed / the tests pass or fail / a deploy goes out / a new error is detected? All of the above tools can report such things to Slack, and Slack’s free plan is easily enough to collect all of these notifications and push them to your phone via the free Slack iOS or Android apps.
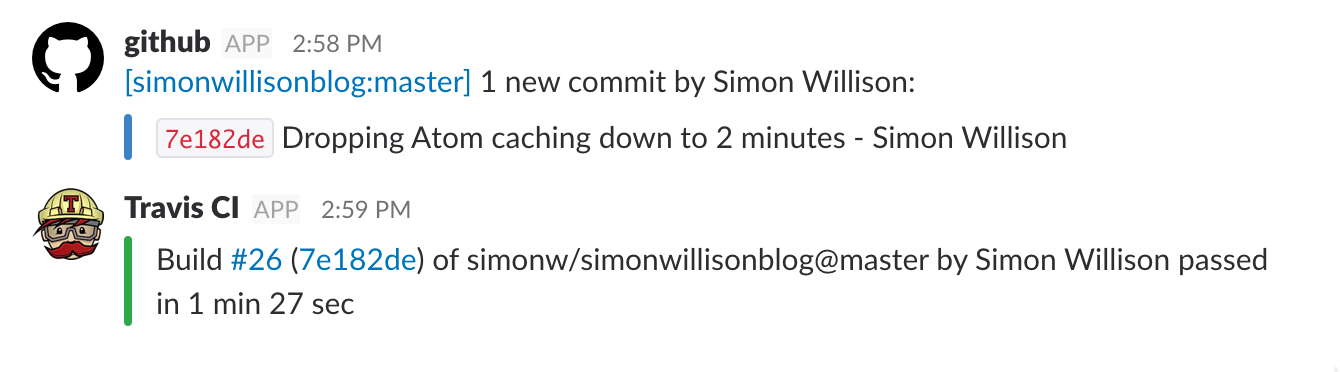
Here are instructions for setting up Slack with GitHub, Travis CI, Heroku and Sentry.
Need more? Pay for it!
Having run much of this kind of infrastructure myself in the past I for one am delighted by the idea of outsourcing it, especially when the hosted options are of such high quality.
Each of these tools offers a free tier which is generous enough to work great for small side projects. As you start scaling up, you can start paying for them—that’s why they gave you a free tier in the first place.
Comments or suggestions? Join this thread on Hacker News.
More recent articles
- The new GPT-5.6 family: Luna, Terra, Sol - 9th July 2026
- sqlite-utils 4.0, now with database schema migrations - 7th July 2026
- sqlite-utils 4.0rc2, mostly written by Claude Fable (for about $149.25) - 5th July 2026